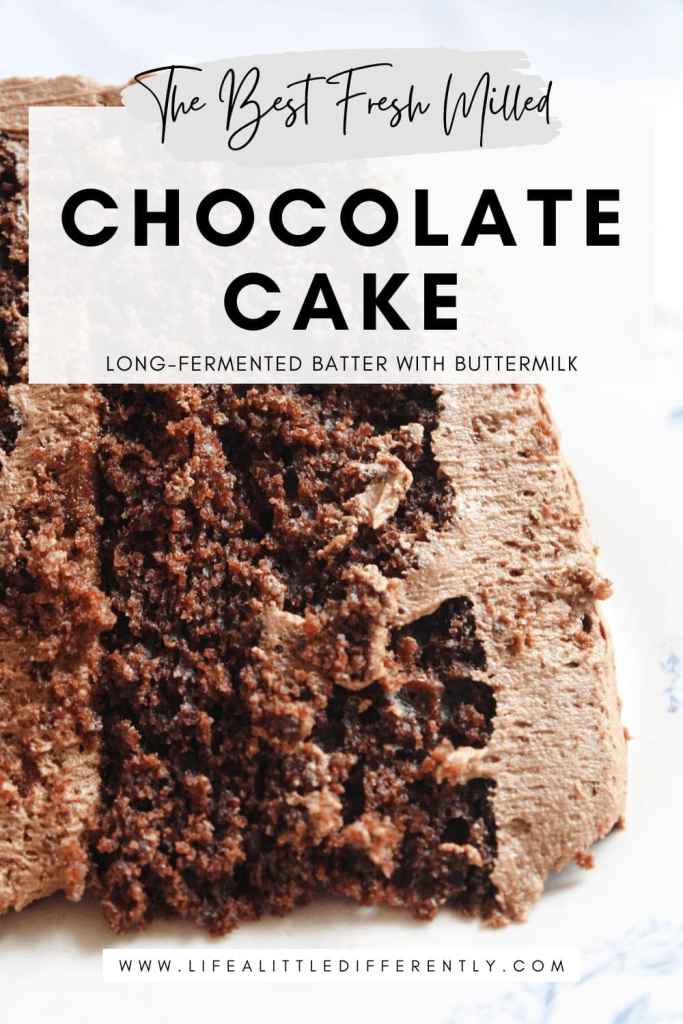
Rich Long-Fermented Buttermilk Chocolate Cake with Fresh Milled Flour
Find out how to make this moist chocolate cake with fresh milled flour! The buttermilk gives this cake a yummy richness, and long-fermentation makes it gut friendly.
This chocolate cake is different than every other chocolate cake! Enjoy the intact nutrients and minerals in the freshly milled flour. The long-fermentation breaks down the gluten, allowing for easy digestion.
Learn how to make a rich, long-fermented buttermilk chocolate cake with fresh milled flour.
What is long-fermentation?
Fermentation is a chemical process in which microorganisms are breaking down molecules such as gluten or glucose.
Fermentation is beneficial to the human gut because the microorganisms in a fermentation feeds the gut microbiome in a person. Fermented grains are especially helpful because the microorganisms break down the gluten ahead of time so your body doesn’t have to.
Fermented grains are easily digest and less likely to cause discomfort afterwards.

Why use buttermilk?
Buttermilk is a cultured milk that is thicker than regular milk and tangy. The buttermilk is used in this recipe to ferment the cake batter before baking.
The buttermilk also makes the cocoa flavor richer and the cake itself more moist.

The Best Flavor
The tang from the fermentation paired with the cocoa makes the overall flavor rich and decatent. The buttermilk paired with freshly milled soft white flour creates a moist and fluffy cake that would rival any other chocolate cake recipe!
Stack this cake with thick layers of fudgy buttercream frosting whipped to perfection and top with your favorite fresh fruit such as strawberries or raspberries!

Ingredients You’ll Need
Dry Ingredients
- Soft white wheat berries
- Sugar
- Cocoa powder
- Salt
- Baking soda
- Powdered sugar (frosting)
Wet Ingredients
- Softened salted butter
- Eggs
- Buttermilk
- Vanilla
- Heavy cream (frosting)
Optional Toppings
- Fresh berries
- Shaved chocolate
- Candied orange peels
Equipment
- Electric mixer
- Paddle attachment
- Separate mixing bowl
- 2 cake rounds
- Plastic wrap
- Oven
The Fermentation Process
First, mix the flour and buttermilk in a bowl and cover with plastic wrap. Allow the mixture to sit at room temperature for 8-12 hours.
If the mixture needs to sit longer, place the bowl in the fridge. The fermented mixture should have small bubbles to show activity.

How to Make Long-Fermented Buttermilk Chocolate Cake
Step 1 – Begin the fermentation.
- Mix the freshly milled flour and buttermilk together in a bowl. Cover the bowl with plastic wrap and leave the mixture at room temperature for 8-12 hours or place in the fridge to ferment longer.
Step 2 – Mix the remaining wet ingredients.
- After the flour/buttermilk mixture has fermented, add the softened butter, eggs, and vanilla with the paddle attachment until the batter is smooth.
Step 3 – Mix the dry ingredients and add to the wet ingredients.
- In a separate bowl, mix together the sugar, cocoa powder, salt, and baking soda. Slowly add the dry ingredients to the wet ingredients while the electric mixer is mixing on low.
Step 4 – Prepare the cake pans.
- Coat two same-size cake pans with softened butter along the bottom and sides of the pan.
- Add a spoonful of flour to each pan, and tap the pan sideways to coat the pan completely.


Step 5 – Scoop the batter into the pans.
- Use a measuring cup or a large cookie scoop to evenly scoop the batter into each pan.
- Tap the filled cake pans on the counter to pop any air bubbles before baking.
Step 6 – Bake the cake.
- Bake the cakes a 350 F for 30 minutes or until the toothpick test comes out clean.
- To test with a toothpick, poke a toothpick in the middle of the cake. If it comes out covered in batter, the cake needs to bake. If it comes out clean, the cake is done baking.
Step 7 – Make the buttercream frosting.
- In the electric mixer, mix soften butter, powered sugar, heavy cream, and vanilla with the paddle attachment until the frosting becomes light and fluffy.
- Scrape the sides and bottom of the bowl with a spatula to make sure its mixed.
Step 8 – Assemble the cakes.
- After the cakes have completely cooled, assemble the cakes by spreading a thick layer of frosting on the top of one cake.
- Next, place the second cake on top and use the remaining frosting on the top and sides of the cake.


Storage and Make-Ahead Tips
To store the cake, place it in an air tight container and store at room temperature to avoid drying out the cake.
To make the cake ahead of time, bake the cakes, cool them completely, wrap them in layers of plastic wrap, and store in the freezer for up to 2 months. To thaw the cake, allow the cakes to sit unwrapped at room temperature until completely thawed.
Make the frosting fresh and assemble the cake.
Frequently Asked Questions
- Can I ferment longer than 12 hours? Yes, but put the batter in the fridge to avoid over-fermenting the batter.
- Can I replace buttermilk with kefir? Yes! Kefir is a fermented milk that can also ferment flour.
- Does the fermentation taste sour? Yes and no. The tang of the fermentation paired with the bitter cocoa actually produces a rich chocolaty flavor rather than a sour flavor.

This buttermilk chocolate cake with fresh milled flour is unique because of the fermentation process. The fermentation creates a deep, rich flavor with gut health benefits you can’t find in any other cake!
Try out this recipe and comment your results!

Rich Long-Fermented Buttermilk Chocolate Cake with Fresh Milled Flour
Course: DessertDifficulty: Moderate8
pieces20
minutes30
minutes8-12
hoursIngredients
- Fermentation
325 g soft white wheat (BEFORE milling)
1 cup buttermilk
- Cake Batter
3 eggs
1 tsp vanilla
1 cup softened salted butter
2 1/2 cup sugar
1/2 cup cocoa powder
1 tsp salt
1 1/2 tsp baking soda
- Buttercream Frosting
3/4 cup softened salted butter
3 cups powdered sugar
1/2 cup cocoa powder
6 tbsp heavy whipping cream
1 tsp vanilla
Directions
- Step 1 – Begin the fermentation.
- Mix the freshly milled flour and buttermilk together in a bowl. Cover the bowl with plastic wrap and leave the mixture at room temperature for 8-12 hours.
- Step 2 – Mix the remaining wet ingredients.
- After the flour/buttermilk mixture has fermented, add the softened butter, eggs, and vanilla with the paddle attachment until the batter is smooth.
- Step 3 – Mix the dry ingredients and add to the wet ingredients.
- In a separate bowl, mix together the sugar, cocoa powder, salt, and baking soda. Slowly add the dry ingredients to the wet ingredients while the electric mixer is mixing on low.
- Step 4 – Prepare the cake pans.
- Coat two same-size cake pans with softened butter along the bottom and sides of the pan.
- Add a spoonful of flour to each pan, and tap the pan sideways to coat the pan completely.
- Step 5 – Scoop the batter into the pans.
- Use a measuring cup or a large cookie scoop to evenly scoop the batter into each pan.
- Tap the filled cake pans on the counter to pop any air bubbles before baking.
- Step 6 – Bake the cake.
- Bake the cakes a 350 F for 30 minutes or until the toothpick test comes out clean.
- To test with a toothpick, poke a toothpick in the middle of the cake. If it comes out covered in batter, the cake needs to bake. If it comes out clean, the cake is done baking.
- Step 7 – Make the buttercream frosting.
- In the electric mixer, mix soften butter, powered sugar, heavy cream, and vanilla with the paddle attachment until the frosting becomes light and fluffy.
- Scrape the sides and bottom of the bowl with a spatula to make sure its mixed.
- Step 8 – Assemble the cakes.
- After the cakes have completely cooled, assemble the cakes by spreading a thick layer of frosting on the top of one cake.
- Next, place the second cake on top and use the remaining frosting on the top and sides of the cake.
Notes
- Replace the fresh milled flour with 2 1/2 cups of all purpose flour and 2 cups of buttermilk.


